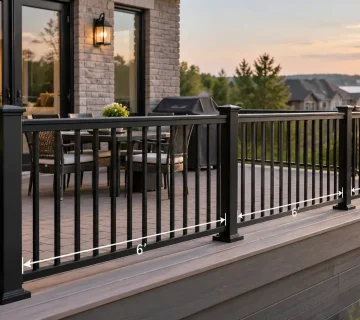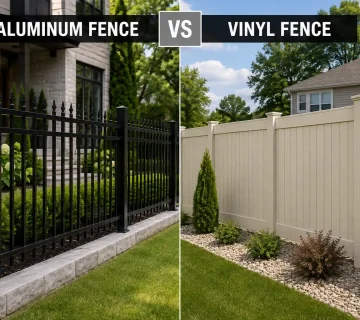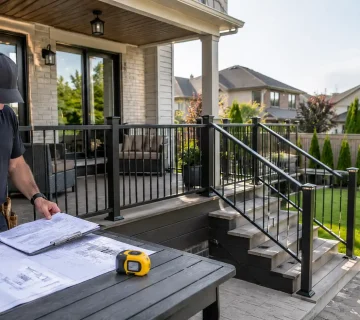
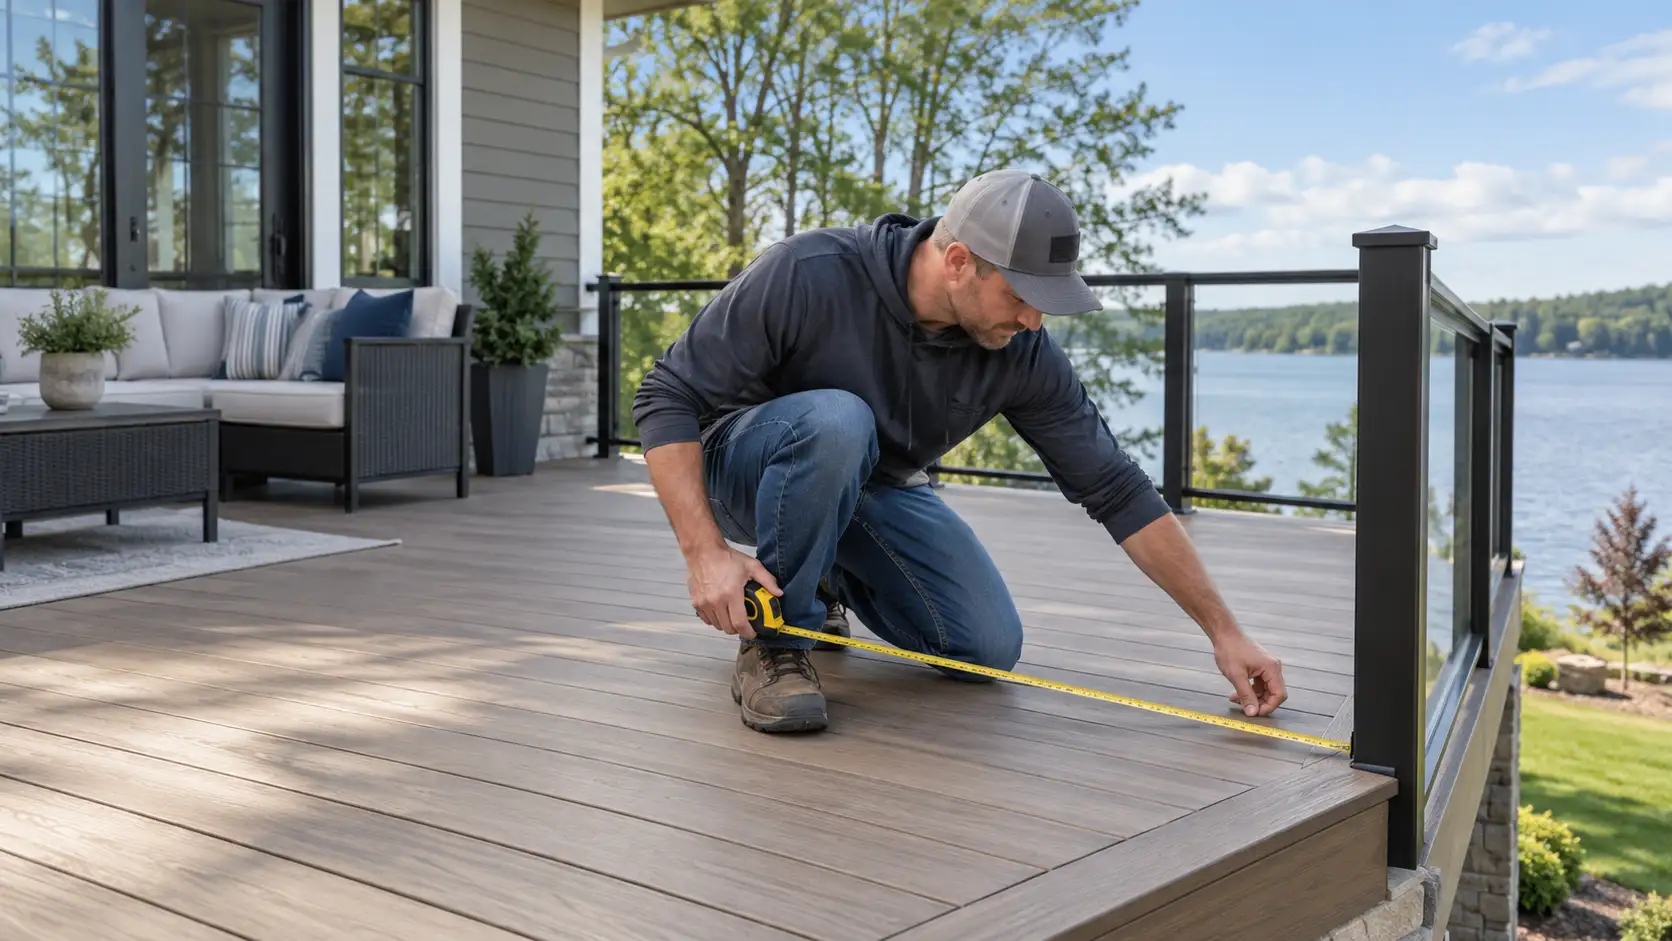
Deck railing measurements are the difference between a smooth railing order and a project that stalls because a panel, post, stair section, or corner does not match the site. Before you request pricing or approve fabrication, you need a clear record of the actual deck geometry—not just one total perimeter number.
For aluminum and glass systems, accurate deck railing measurements help the manufacturer plan section lengths, post locations, corners, wall returns, and mounting details. If you are still comparing system styles, review Alumiguard MFG’s aluminum deck railing systems while you measure so the layout reflects the type of railing you may actually use.
The goal is simple: create a measurement package that another person can understand without standing on your deck. This guide explains how to measure for deck railing in a way that makes quoting clearer, shop drawings easier to review, and installation less dependent on last-minute assumptions.
Why Deck Railing Measurements Matter Before You Order
Railing is fabricated and installed as a series of connected sections. A rectangular deck may look simple, but each straight run can have different end conditions, post locations, wall connections, stair openings, or changes in elevation.
Good deck railing measurements identify those differences before materials are cut and keep the key deck railing dimensions tied to specific locations. They also help separate three decisions that homeowners often mix together: the size of the space, the layout of the railing, and the final engineering or code requirements of the system.
Do not start by deciding how many “six-foot” or “eight-foot” sections you think you need. Product dimensions, post widths, brackets, corner details, and cut allowances vary by system. Start with the site geometry first, then let the selected railing system determine how that geometry becomes panels and posts.
What to Record Before You Start Measuring
Before taking deck railing measurements, walk the entire perimeter and note what the railing will connect to. Mark walls, columns, stairs, gates, changes in direction, open edges, existing posts, and any location where the deck surface changes.
Also identify the mounting surface. A railing installed on a wood deck is not planned exactly the same way as one anchored to concrete, and a top-mounted post creates a different layout from a side-mounted post.
If the project is on a wood deck, Alumiguard’s picket railing wood-floor installation guide shows how the system is located and fastened at the deck surface. For glass systems, the glass railing wood-floor installation steps provide another useful reference for how the final assembly meets the deck.
Should you measure before or after the deck boards are installed?
Whenever possible, final deck railing measurements should be taken from the finished surfaces that will exist when the railing is installed. Finished decking, stair nosings, cladding, waterproofing details, and trim can all change the usable dimensions.
If you must measure earlier, clearly label which dimensions are framing dimensions and which are expected finished dimensions. Never present an unfinished measurement as final without noting the difference.
7-Step Deck Railing Measurements Process
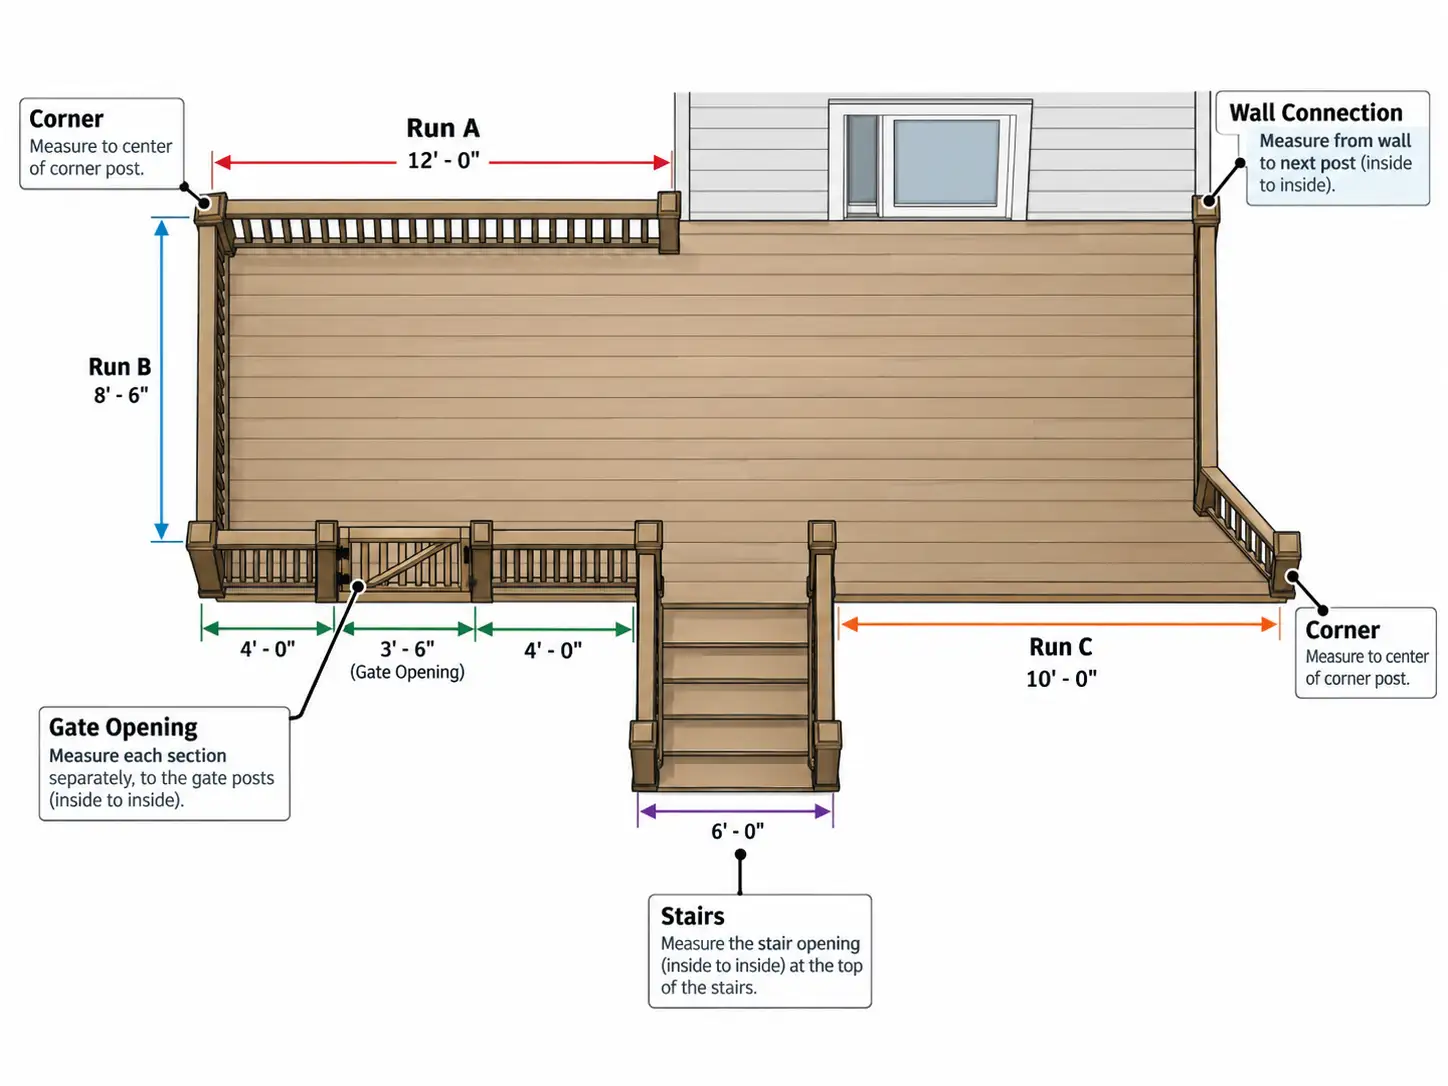
1. Draw a simple plan view
Start with a top-down sketch of the deck, balcony, porch, or landing. It does not need to be architectural artwork. It only needs to show every railing run, corner, wall, stair opening, gate, and change in direction.
Label each straight run with a letter or number: A, B, C, and so on. This prevents one of the most common deck railing measurements problems—sending a list of numbers that no one can match to a physical location.
2. Establish consistent start and end points
Every dimension needs a defined reference point. Decide whether you are measuring to the finished edge of the deck, a wall face, a column face, an existing post centreline, or another fixed point, and label that reference on the sketch.
Consistency matters more than choosing one universal method. A manufacturer can work with edge-to-edge, face-to-face, or centreline dimensions when the reference points are clearly identified. Problems begin when one run is measured to an outside edge and the next run silently switches to a post centreline.
3. Measure every level run separately
Record each straight level section as its own dimension, even if two sides of the deck appear identical. Construction is rarely perfect enough to assume opposite sides match.
Take deck railing measurements at the finished railing line, not somewhere convenient several inches away. If the final railing position has not been chosen, record the deck edge dimension and clearly note that the railing centreline still needs to be established.
4. Mark corners, walls, gates, and obstructions
A total run length does not explain what happens at the ends. Mark whether each section finishes at a wall, turns a corner, meets stairs, stops at a gate, or ends with a free-standing terminal post.
Also record nearby obstructions such as doors, downspouts, columns, or equipment. They can affect post placement, gate swing, and installation clearance.
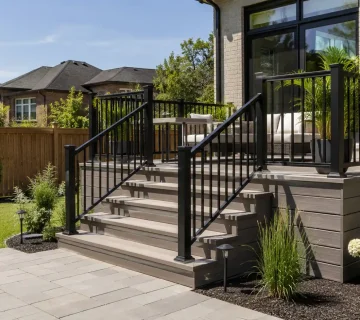
5. Learn how to measure stair railing sections separately
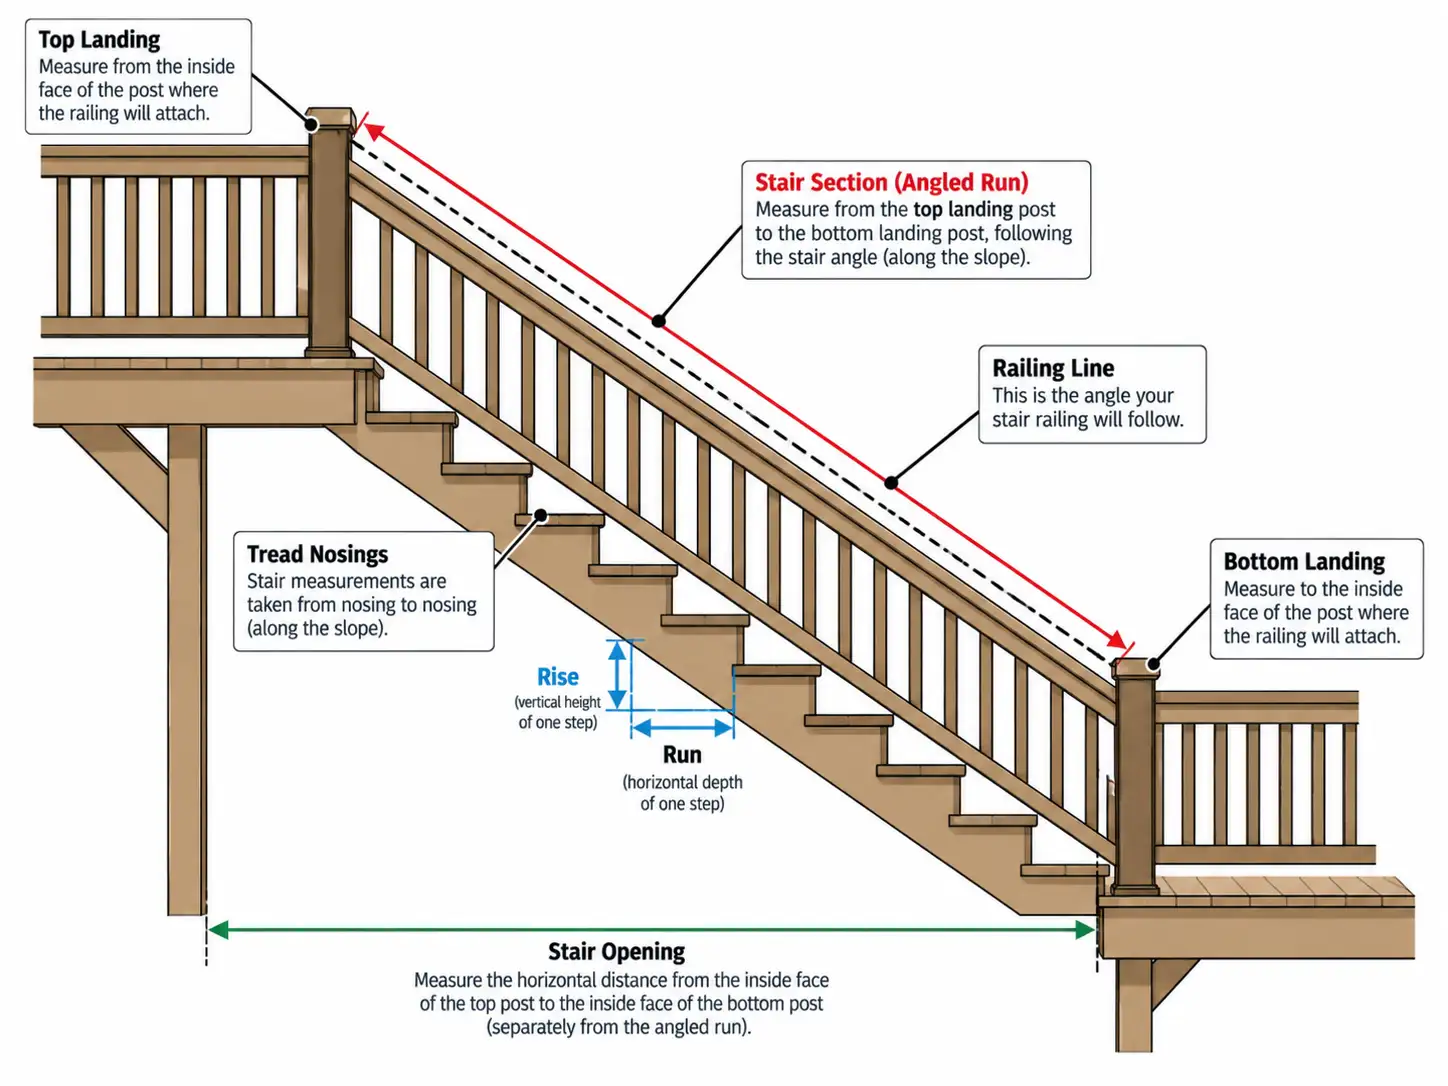
Do not treat a stair railing as another horizontal deck run. Stair sections depend on the actual stair geometry, including the number of risers, tread layout, top and bottom landing conditions, and the slope created by the stair.
Record the overall stair width, the rise and run information available from the finished stairs, and clear photographs from the side. If the stair is not complete, label the dimensions as preliminary.
Accurate deck railing measurements for stairs are especially important because small inconsistencies in the stair can affect post positioning and the fit of an angled railing section.
6. Document the mounting condition
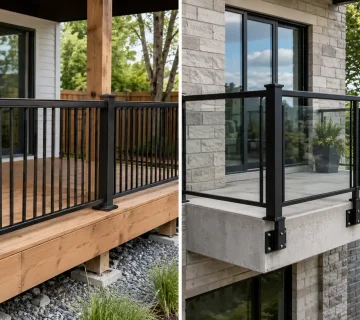
Show whether the proposed railing will be surface mounted on top of the deck or side mounted to the fascia or structural edge. Alumiguard’s high-rise railing systems show both top-mount and side-mount configurations, which illustrates why the mounting method needs to be part of the layout discussion.
A surface mount places the post base within the deck surface. A side or fascia mount moves the post outside the walking surface. That changes the railing line, corner geometry, edge clearances, and sometimes the usable deck area.
The structure beneath the finish must be suitable for the selected connection, and final attachment details should follow the railing system requirements and project design.
7. Verify, photograph, and date the measurements
Before sending the layout, walk the deck again and compare each written dimension with the sketch. Add photos showing each run, every corner, both ends of the stairs, the underside of the deck where accessible, and any unusual connection point.
Date the measurement package and update it if construction changes the site. Final deck railing measurements should reflect the condition that will exist when fabrication or installation begins.
| Item to record | What to show | Why it matters |
|---|---|---|
| Straight runs | Each run as a separate dimension | Prevents one perimeter total from hiding layout differences |
| Corners | Direction, angle, and nearby edge conditions | Helps plan corner posts and transitions |
| Wall ends | Finished wall face and termination point | Clarifies brackets, returns, or end posts |
| Stairs | Width, rise/run information, landings, side photos | Supports angled section planning |
| Mounting surface | Wood, concrete, steel, or other substrate | Affects attachment and post-base planning |
| Mounting style | Top/surface mount or side/fascia mount | Changes the railing line and usable space |
| Gates/openings | Clear opening and swing area | Prevents conflicts with posts and hardware |
| Photos | Wide views plus close-ups | Gives context that dimensions alone cannot provide |
Common Measurement Mistakes That Cause Railing Problems
The first mistake is sending only the total linear footage. Linear footage can help with early budgeting, but it is not enough for fabrication. A 40-foot perimeter with four corners is different from four independent 10-foot runs with walls, stairs, and gates.
The second mistake is assuming railing post spacing before a system is selected. Post spacing depends on the railing design, infill, mounting method, engineering, and manufacturer requirements. Your deck railing measurements should describe the site first; the final system layout should then establish approved post locations.
Another common mistake is mixing old and new dimensions. If decking, stairs, columns, or fascia boards have changed, earlier measurements may no longer be reliable. Avoid aggressive rounding; record what you actually measured.
How accurate do deck railing measurements need to be?
They should be accurate enough that the layout can be recreated from your notes and verified on site. Use a reliable tape or laser where appropriate, record dimensions consistently, and avoid guessing at hidden or unfinished conditions.
The required fabrication tolerance depends on the railing system. That is why deck railing measurements should be treated as site information, not as permission to cut every component before the final layout is reviewed.
Can I use measurements from my old railing?
Only as a reference. An existing railing may have different post widths, mounting locations, corner details, or section lengths from the replacement system.
If the old railing is being removed, take new deck railing measurements from the finished structure and note any areas that will be rebuilt before installation.
Surface Mount Railing vs Fascia Mount Railing: How Mounting Changes Measurements
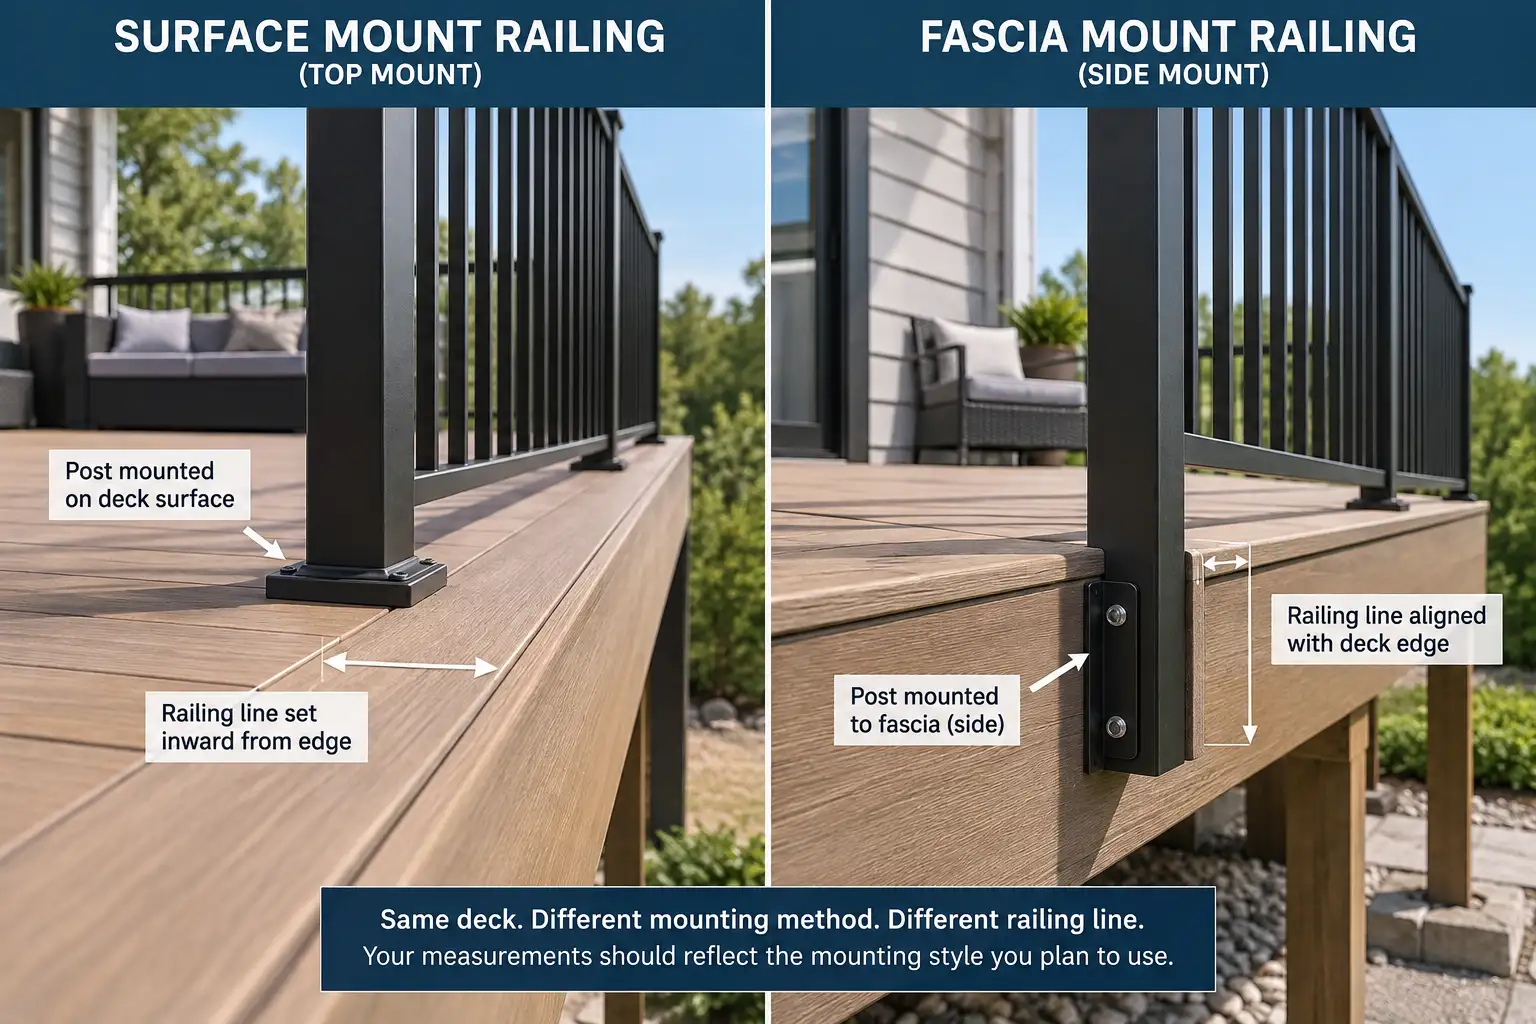
Surface mounting and side mounting can produce different deck railing measurements even on the same deck. With a surface-mounted system, the posts typically sit inward from the deck edge. With a side-mounted system, the railing line may shift outward because the posts attach to the vertical edge.
That is why deck railing measurements should include both the physical deck dimensions and the intended mounting condition. Do not assume a dimension taken for a top-mounted design can be transferred directly to a fascia-mounted design.
This distinction becomes more important at corners, stairs, waterproofed surfaces, narrow balconies, and areas where posts must align with structural framing. If the project requires fabrication drawings, Alumiguard’s guide to railing shop drawings explains the types of dimensions, mounting notes, materials, and layout details that should be reviewed before fabrication.
What to Send When Requesting a Railing Quote
A useful quote request or railing takeoff gives enough information to understand the scope. Include:
- A simple plan sketch with every railing run labelled.
- Deck railing measurements for each straight section.
- Separate stair dimensions and side-view photos.
- The number and location of corners, wall ends, gates, and openings.
- The deck or slab material.
- Your preferred railing style: picket, glass, decorative, or another system.
- Your preferred mounting approach, if already known.
- Photos of the full area and close-ups of unusual conditions.
- The project city or municipality, since local review and permit requirements can affect the work.
If you are comparing proposals from more than one scope or configuration, the guide on how to compare railing quotes can help you check whether each price includes the same materials, installation assumptions, finishes, and project responsibilities.
Do I need final post spacing before asking for a quote?
Usually, no. For an early quote, the site geometry, railing type, mounting surface, stairs, corners, and approximate scope are often more useful than self-selected post spacing.
Final post spacing should match the chosen system and project requirements. Accurate deck railing measurements give the manufacturer or installer the information needed to develop that layout rather than forcing the project into an assumed spacing pattern.
Should glass and picket railings be measured the same way?
The basic site survey is similar, but the final fabrication process is not identical. Both need clear runs, corners, stairs, mounting surfaces, and end conditions, but glass panels and picket sections have different hardware and sizing considerations.
If you are considering glass, review Alumiguard’s glass railing systems before finalizing deck railing measurements so the survey captures the mounting and connection details relevant to that system.
Check Code and Permit Requirements Before Finalizing the Layout
Measurements are only one part of a buildable railing plan. Guard height, openings, stair conditions, structural attachment, and other requirements depend on the current code and the specific project.
Ontario property owners should confirm the current requirements through Ontario’s Building Code and with the local building department. The City of Toronto’s deck and porch permit guide, for example, requires permit drawings for applicable projects to include guard construction details and show guards in relation to stairs, landings, and platform edges.
Use current requirements rather than an old project or another jurisdiction’s diagram, and get professional design or engineering input when the project calls for it.
Turn Accurate Deck Railing Measurements Into a Buildable Plan
Good deck railing measurements do more than produce a cleaner quote. They reduce ambiguity between the property owner, manufacturer, installer, and anyone reviewing drawings before fabrication.
If you are planning a new aluminum or glass railing, Alumiguard MFG can help turn your site dimensions into a system that fits the project’s layout, mounting conditions, and design goals. Review the available railing options, then contact Alumiguard MFG with your sketch, measurements, and project photos to discuss the next step.