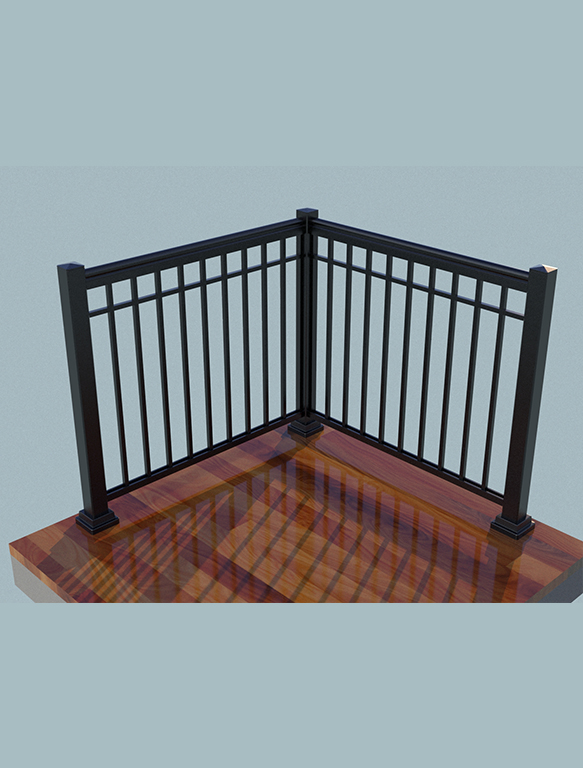
How to Install a Picket Railing on a Wood Floor – Step-by-Step Guide
Why Choose Picket Railings for Your Wood Floor?
Picket railings provide structural support and elevate the overall design of staircases, decks, and balconies. Here’s why they are an excellent choice:
✔ Increased Safety – Prevents falls and offers hand support.
✔ Durability – High-quality wood or aluminum railings last for years.
✔ Aesthetic Appeal – Complements both traditional and modern interiors.
✔ Code Compliance – Meets Ontario Building Code (OBC) regulations for safety.
Materials & Tools Needed for Installation
Before beginning the installation, gather the following materials:
🔹 Picket railing kit (wood or aluminum)
🔹 Posts & spindles
🔹 Measuring tape & level
🔹 Drill & drill bits
🔹 Lag screws (stainless steel 410 SS/304SS)
🔹 Plastic covers & caps
🔹 Screwdriver & wrench

Step-by-Step Installation Guide
for Picket Railings on a Wood Floor
1. Mark & Measure the Installation Area
- Determine where the posts and spindles will be placed.
- Measure 2 ¾ inches from the top post to position the first spindle.
- Ensure even spacing between pickets to meet safety standards.
2. Install the Posts & Spindles
- Secure the top spindle to the post using screws.
- Attach additional spindles, ensuring uniform spacing.
- Fix the railing panel securely onto the spindles.
3. Drill & Secure the Base to the Wood Floor
- Mark drill points for the posts on the wooden deck.
- Drill the necessary holes for post placement.
- Set the panel and post assembly on the ground.
- Fasten the railing securely with lag screws (stainless steel 410 SS/304SS).
4. Final Touches & Safety Check
- Install plastic covers on the aluminum base for a finished look.
- Attach caps on the posts to enhance durability.
- Snap the top handrail and bottom channel into place.
- Conduct a stability check to ensure a firm installation.
Choosing the Right Picket Railing for Your Space
When selecting picket railings, consider the following:
✔ Material Options – Choose between wood, aluminum, or stainless steel railings.
✔ Weather Resistance – If installing outdoors, opt for weatherproof finishes.
✔ Customization – Select from various designs and colors to match your space.
