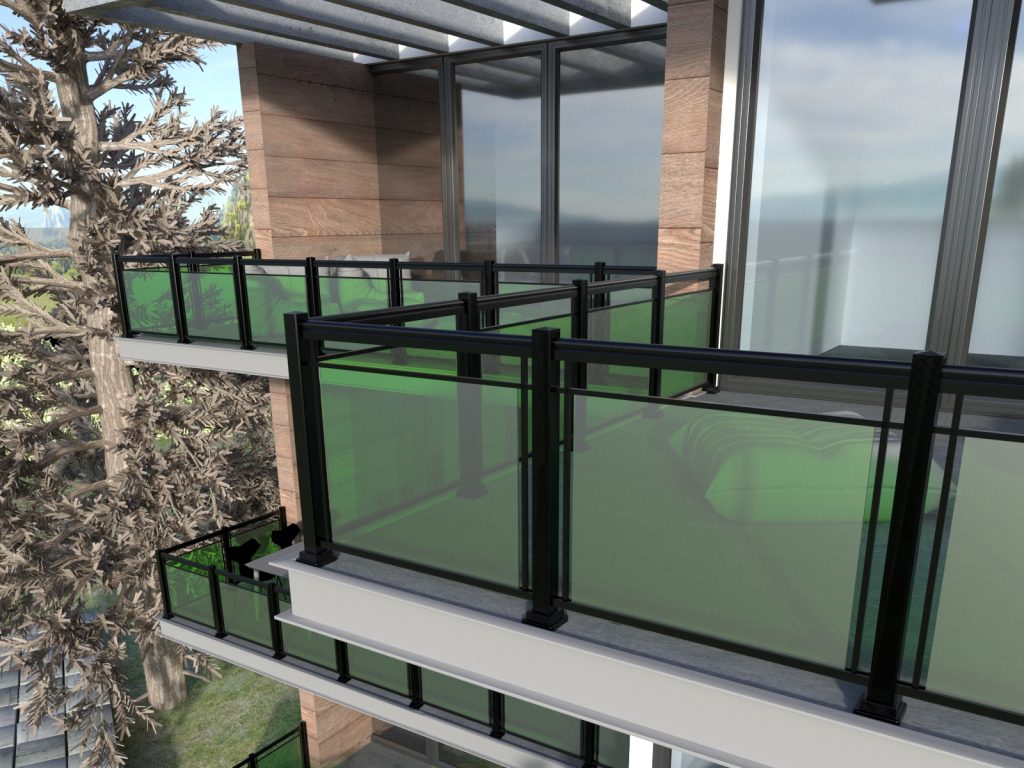
How to install a Glass Railing Concrete Floor?
If you’re considering adding a modern touch to your space, glass railing installation on a concrete floor is a fantastic choice. Glass railings provide a sleek and stylish look while also ensuring safety and durability. The installation process is straightforward, starting with measuring and placing the posts, followed by drilling into the concrete slab for secure anchor placement. Once the posts are set, the next steps involve attaching the panels, tightening the bolts, and finishing off with plastic covers and caps. By following the right steps, you’ll have strong and attractive glass railings on concrete floors that will last for years.
Installation Steps for Glass Railing on Concrete Floor

- Gather the posts.
- Gather the spindles.
- Measure 2 ¾” from the top of the post and position the top spindle.
- Secure the spindles to the post.
- Attach the panel to the spindles.
- Mark the spots on the concrete slab for drilling.
- Drill the marked holes into the concrete slab.
- Hammer the anchor bolts or plugs into the drilled holes.
- Place the panel/post assembly onto the ground.
- Install the bolts on top and tighten them.
- Place the plastic covers over the aluminum base.
- Install caps onto the posts.
- Attach the snaps onto the top handrail and bottom channel.
- Always adhere to the Ontario Building Code requirements for the handrail height and the gap at the bottom.

